
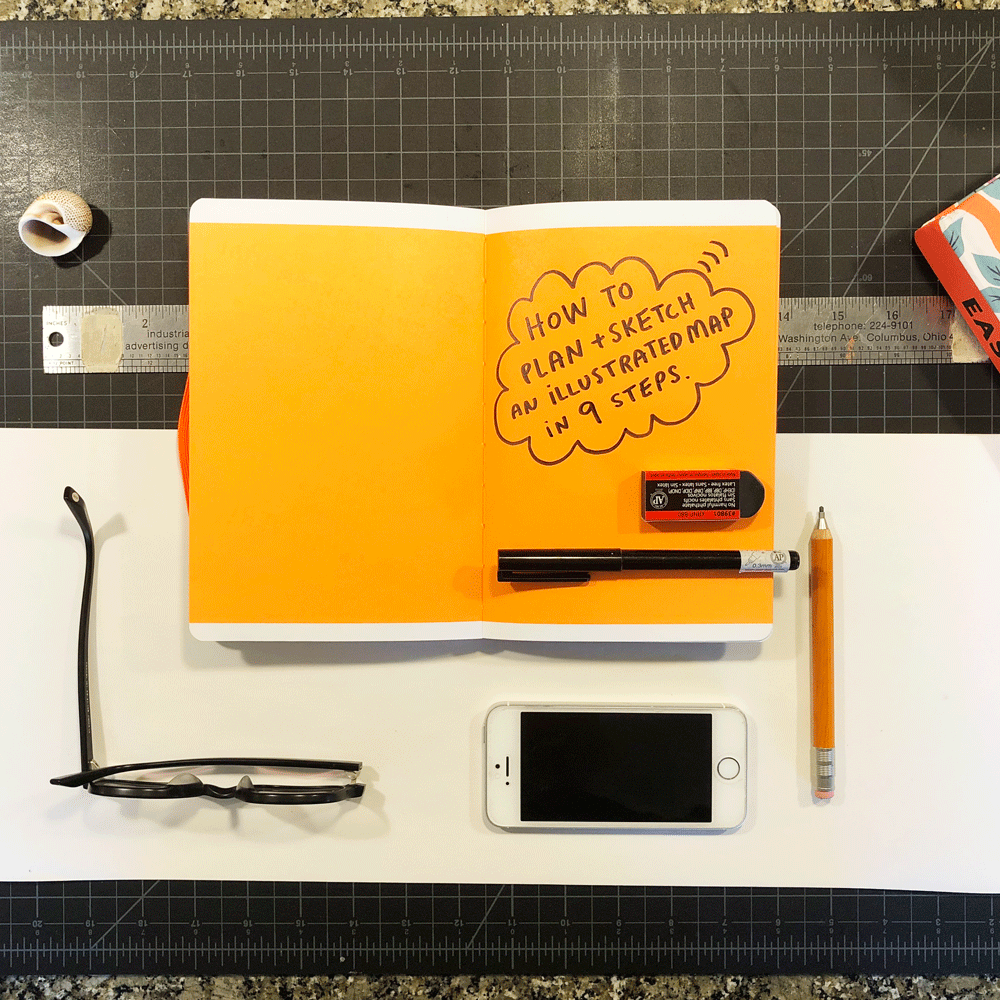
How to Plan + Sketch
an Illustrated Map
in 9 Steps
by Nate Padavick
We are all in the same situation: homebound and a little restless, with no fun travel plans in the near future. Now is a perfect time to envision your next dream trip or recall an awesome vacation.
Illustrating a map sparks your creativity and helps fill a void left by travel restrictions.
For inspiration, visit They Draw & Travel (TDAT), the online community of mapmakers founded by me and my sister Salli in 2011. Then, follow these 9 steps to make your own illustrated map!
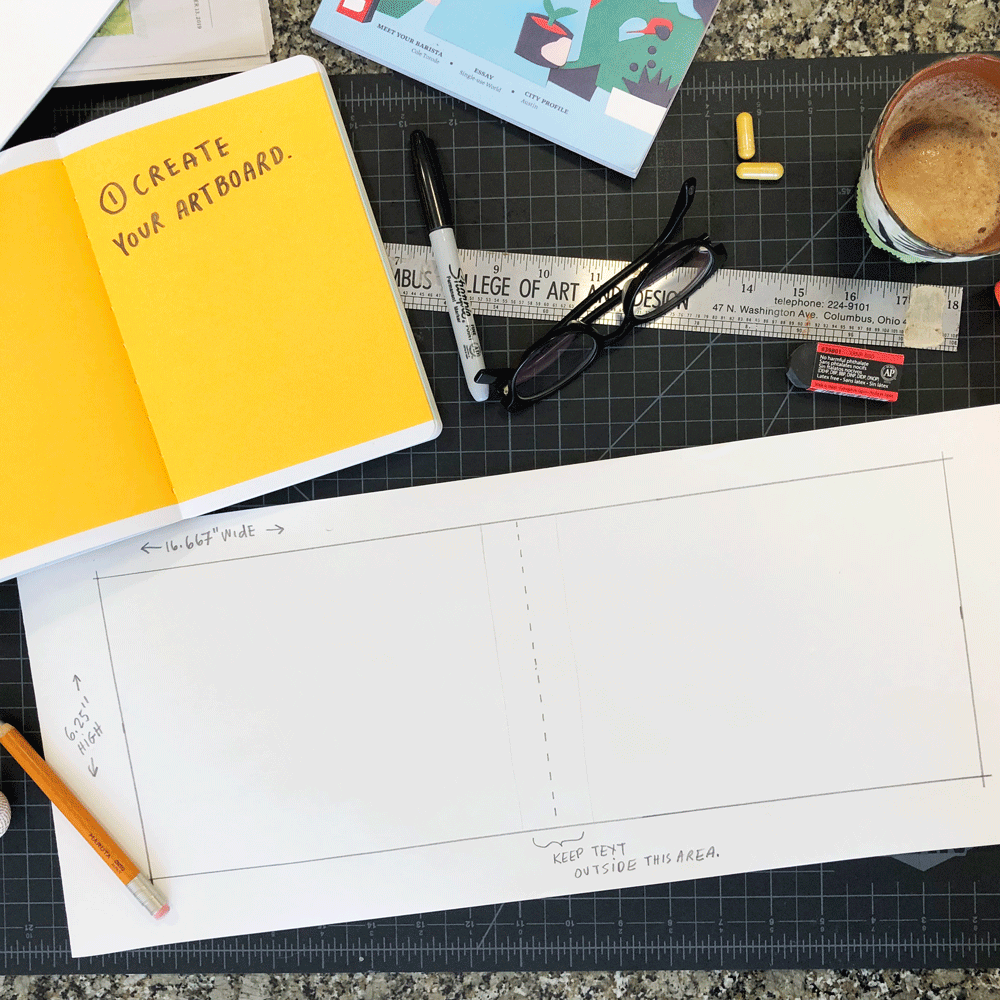
1) Create Your Artboard
The artboard size used in this example is the size required by TDAT. Anyone in the world can submit a map illustration to this site, including you! It’s a great forum for sharing your combined love of travel and illustration.
All maps submitted to TDAT must be 16.667” wide and 6.25” high.
*The comment “Keep text outside this area” is only a suggestion if you plan to submit your map to TDAT. We sometimes publish compendiums of submitted maps and this area is within the gutter of a book.
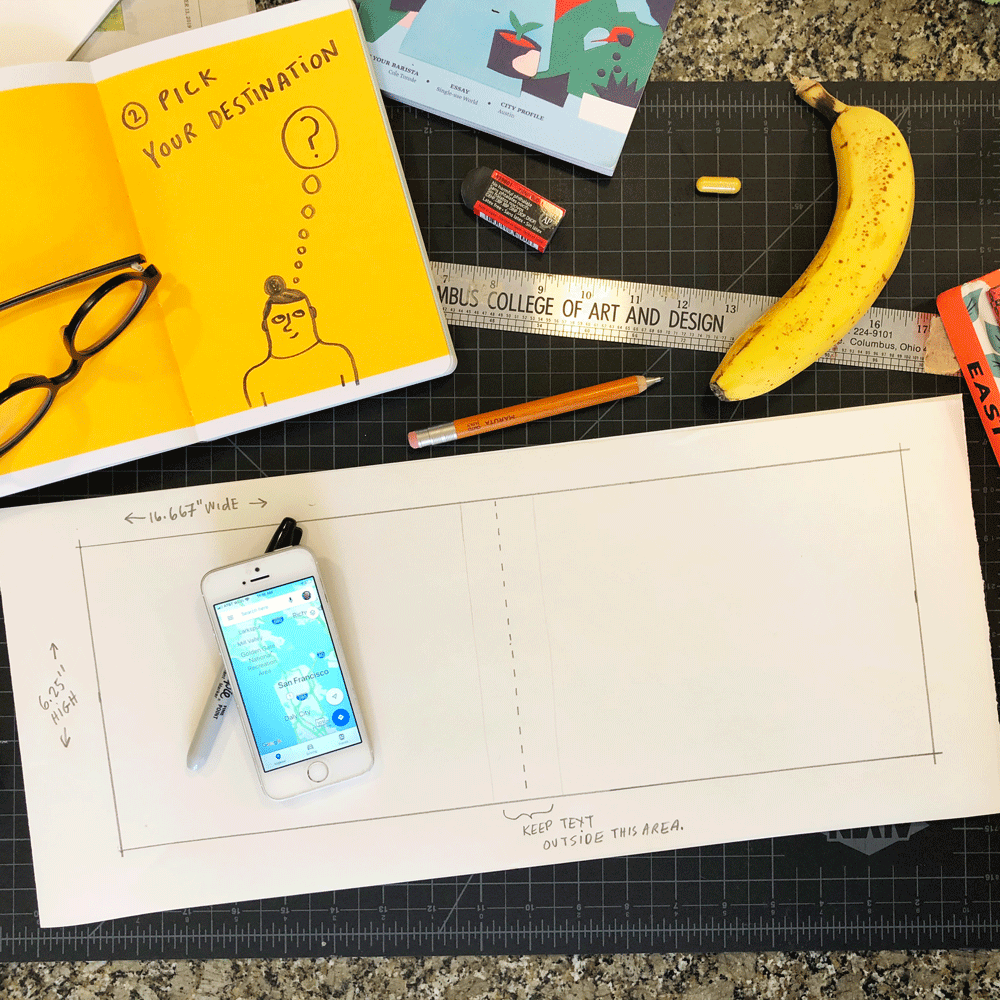
2) Pick Your Destination
Will you illustrate a place you've been before and really loved? Maybe your last vacation? Your honeymoon trip? Or even your own neighborhood?!
Or, will you illustrate a place you’ve never been? Maybe the first place you plan to visit once travel is safe again? Or the number 1 city on your travel “bucket list?” Or even a fictional place, like the city in your favorite book, film, or series?!
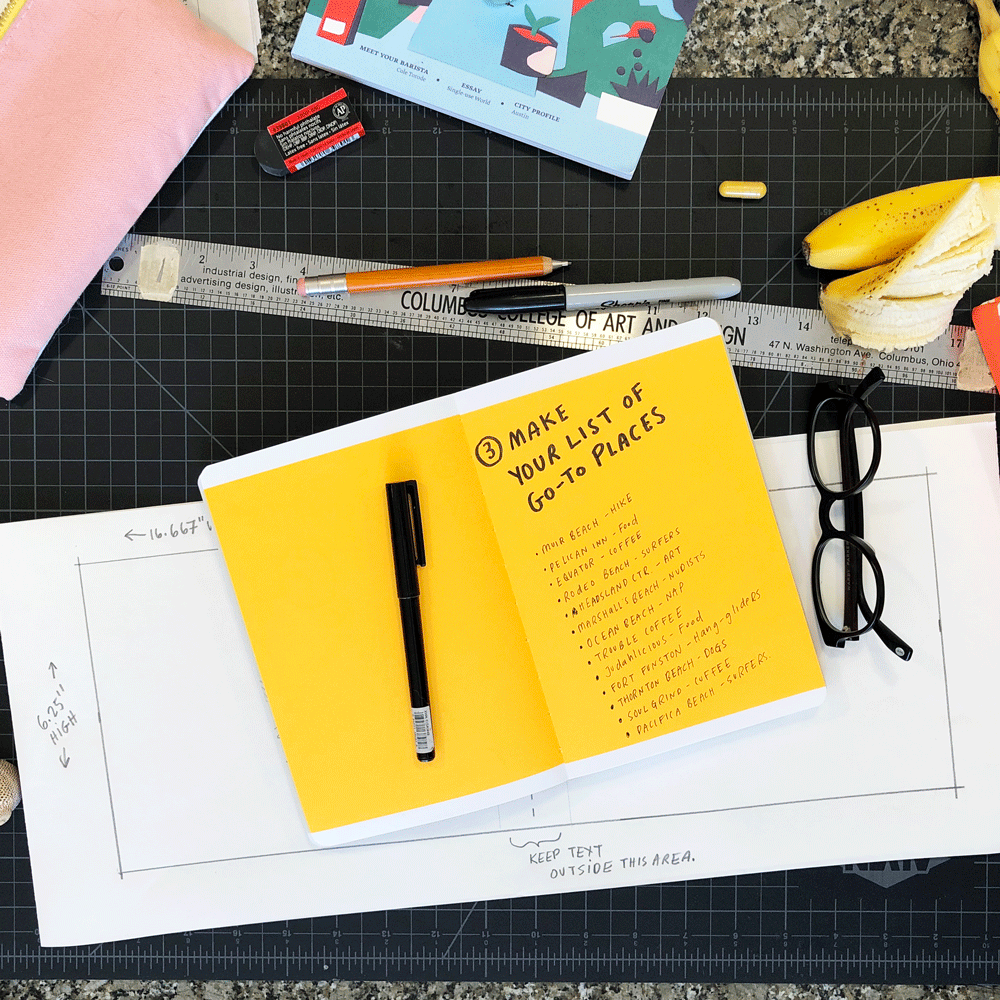
3) Make Your List of Go-To Sites.
What sites are there to see? What activities and experiences are there to have? What landmark or natural wonders exist at your destination?
Consider a fun theme, like visiting all the museums in a city or all the coffeeshops or all the parks or all the historical landmarks...possibilities are endless!
You could even build a narrative into your map, so that it tells the story of an adventure or illustrates a specific itinerary or captures the memories your time at this place. For example, create a memory map of your childhood world!
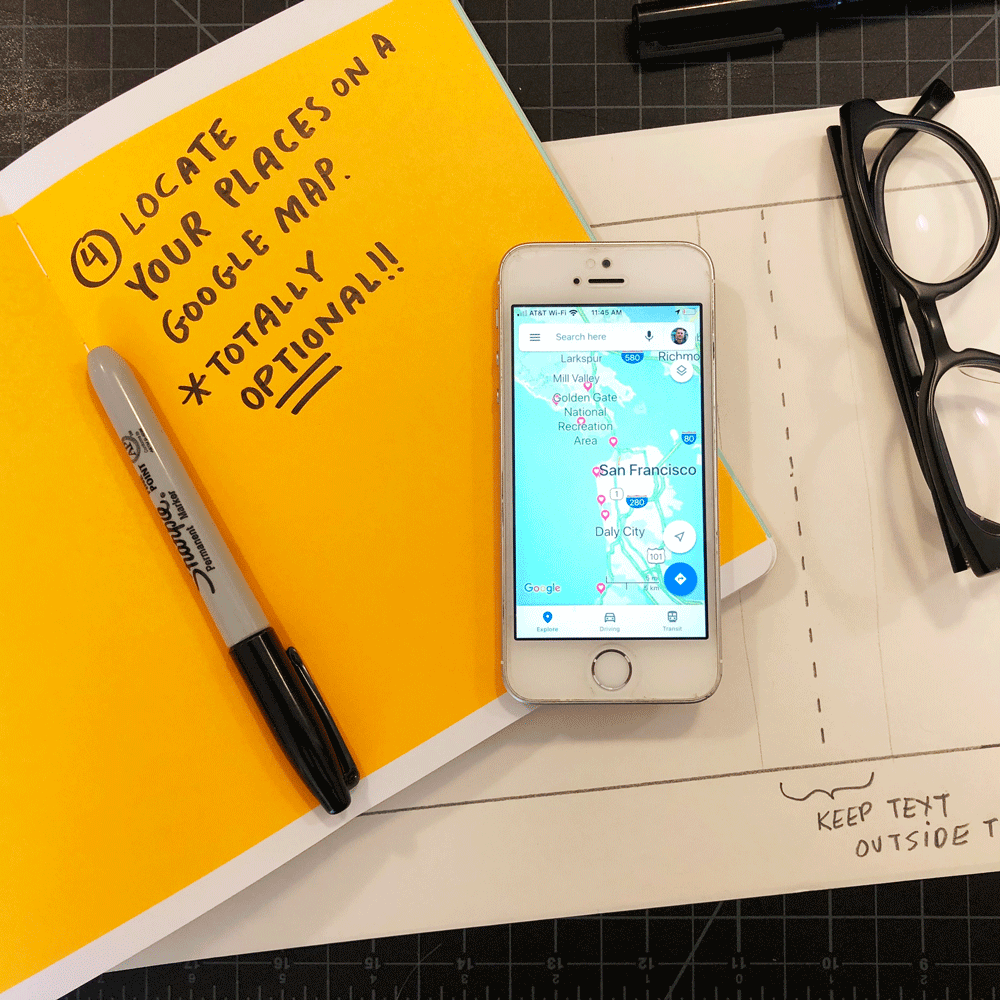
4) Locate Your Places on a Google Map. (optional)
If you know the place really well, you may not need to do this. If you have a Google account (i.e. Gmail), it allows you to “save” a place when you locate it on a Google Map.
This helps you understand the placement of each site in relation to each other. This also helps you decide how to orient your map. Most maps have a northern orientation, but that is not required. For this map, I chose to rotate the orientation so east is at the top in order to accommodate the horizontal nature of the artboard.
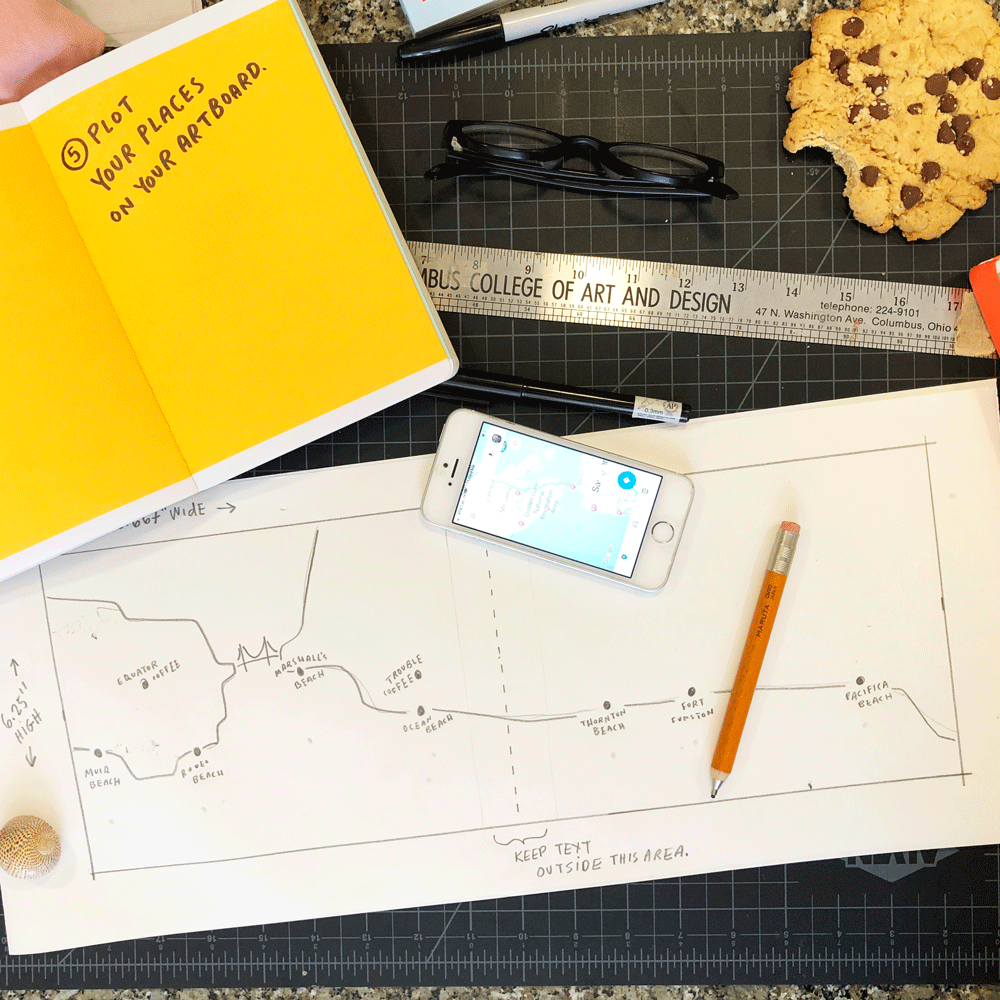
5) Plot Your Places on Your Artboard.
It’s OK to distort your map. You may need to reduce the distances between places OR remove some outlying places from your list.
Nobody is going to use this map for direction (that’s what cell phones are for!), they will only using it for inspiration (that’s your job!)
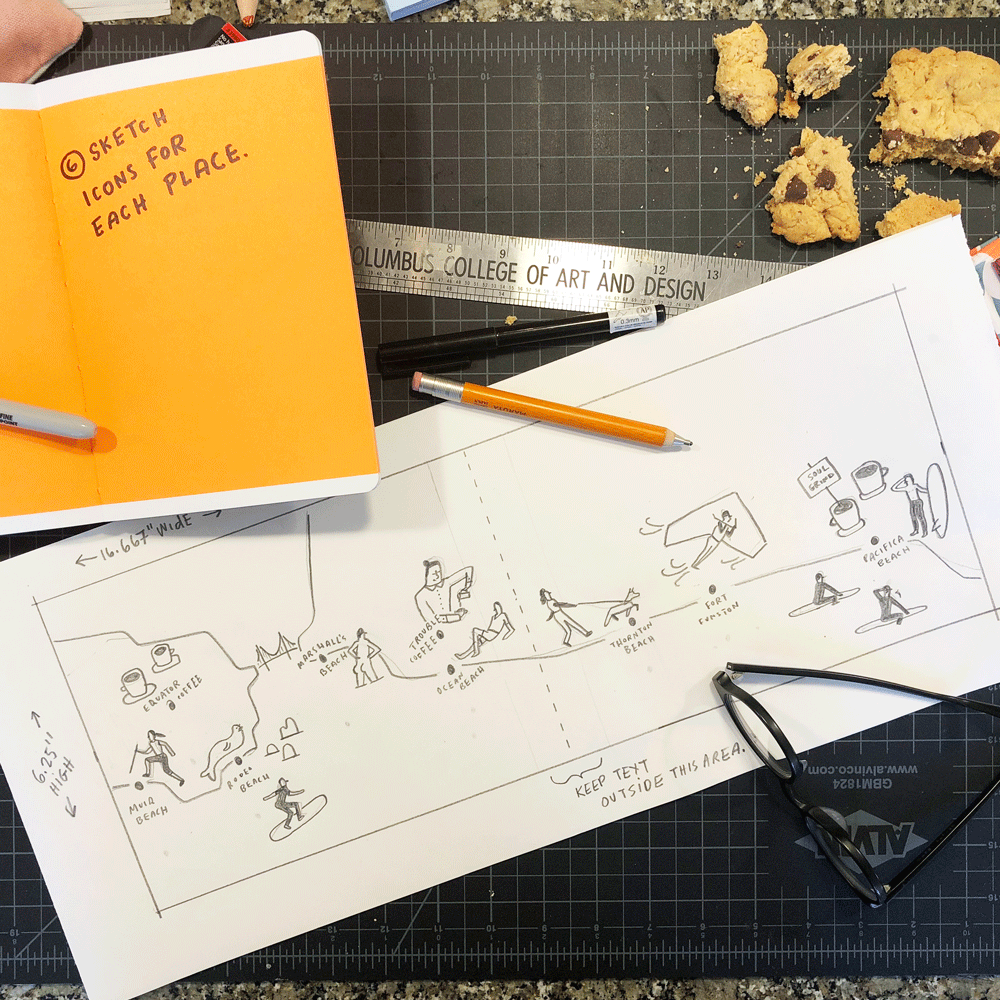
6) Sketch Icons for Each Place.
An icon is a little spot illustration that represents a place. It does not need to be a drawing of the actual building—it could be anything! A bagel, a taco, a movie camera, a dog walker, an elephant, a rainbow, whatever is super fun!
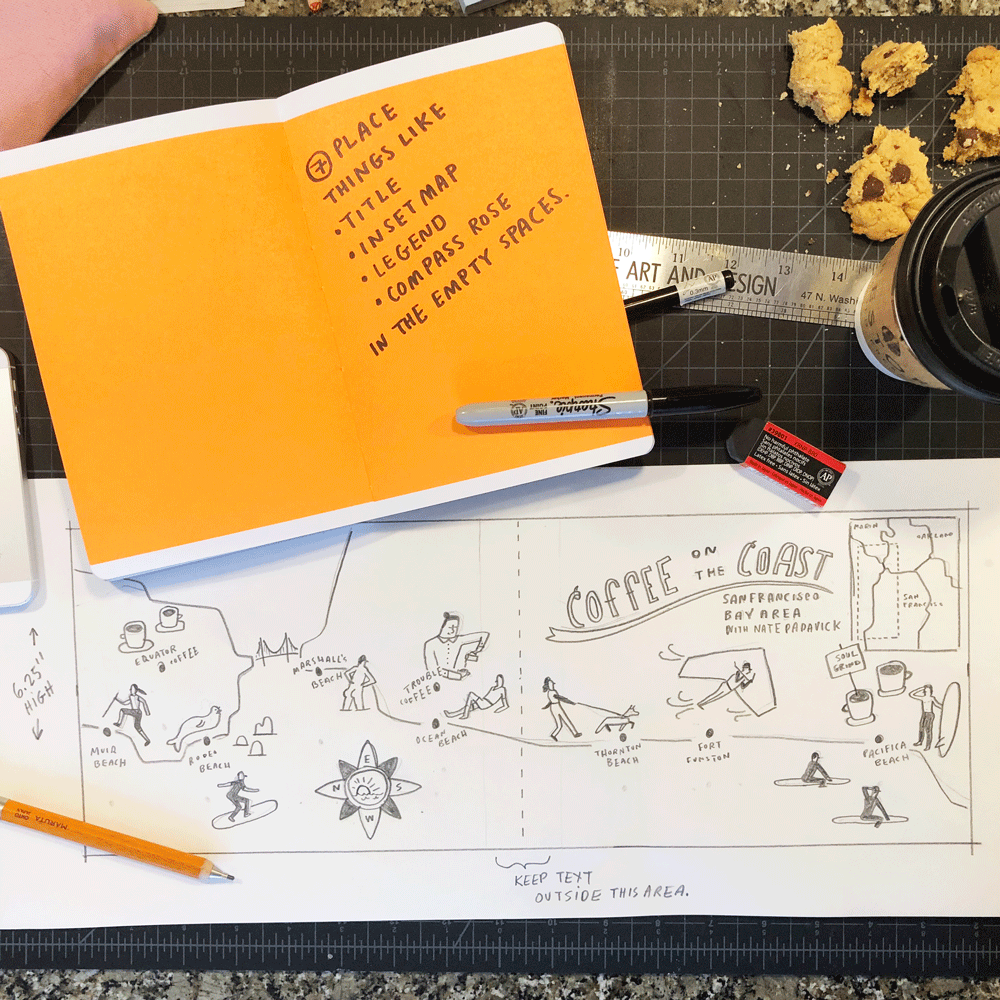
7: Place Your Title.
Find the biggest empty space left on your sketch and use it for your title. If you have room, consider placing a compass, an inset map, and a legend too!
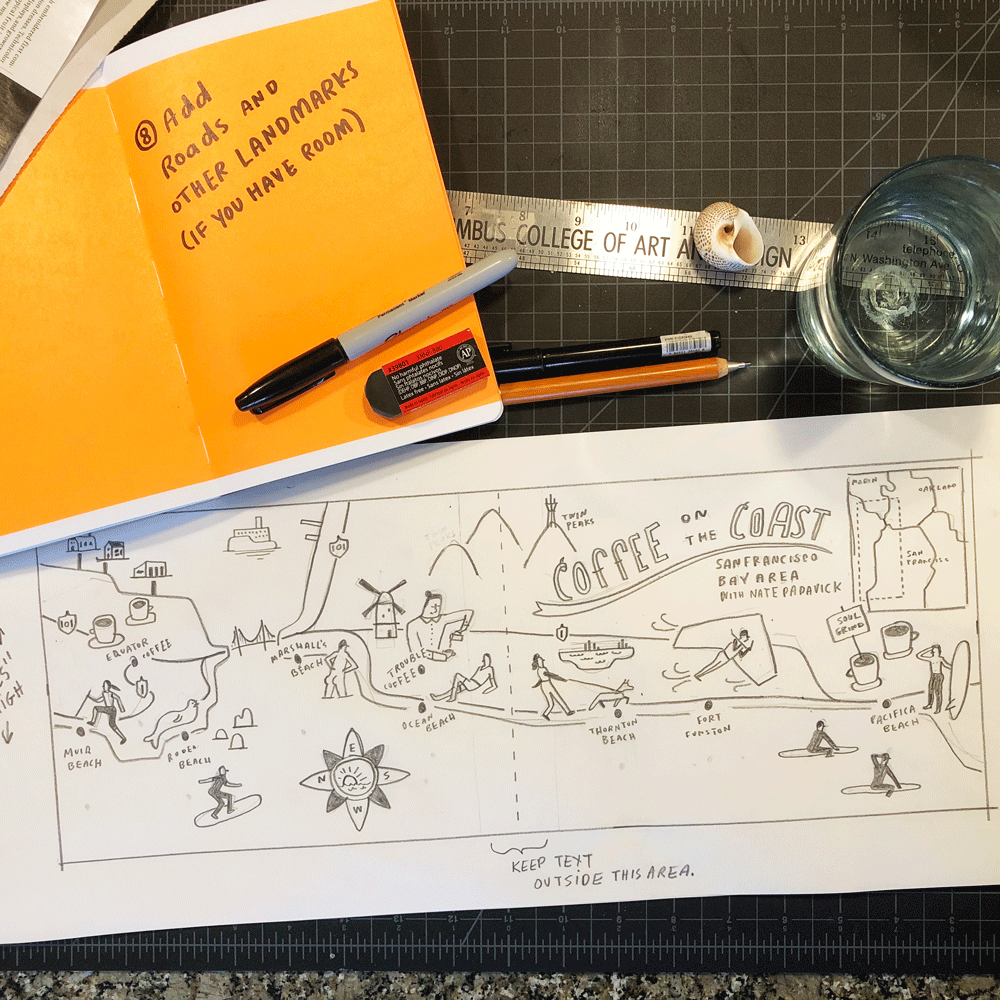
8) Add Roads and Landmarks.
It’s important to include at least a few major roads. These, as well as well known landmarks, give viewers good points of reference.
For example, my map contains an icon for the Golden Gate Bridge. This well-known landmark helps viewers orient themselves.
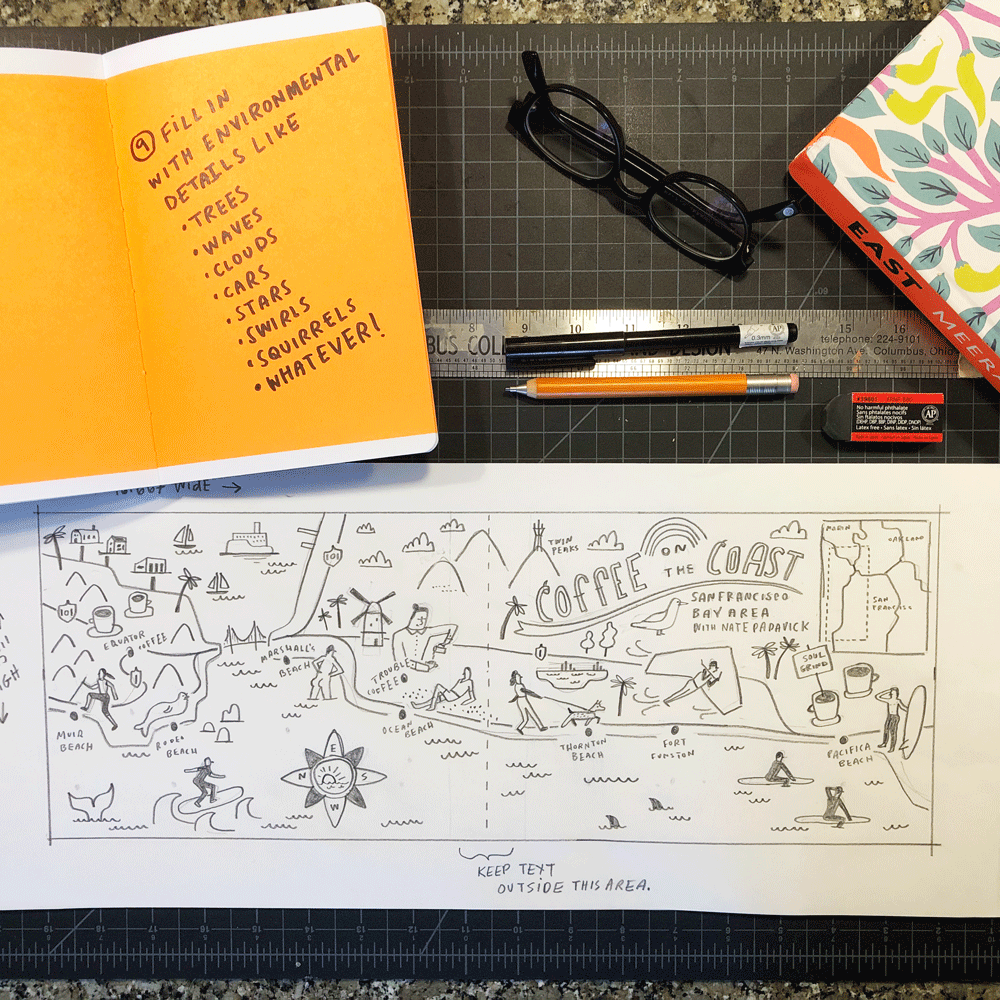
9) Fill in with Fun Details.
If there is any empty space left on your map, fill it in with trees, birds, animals, flowers, clouds, rainbows, cars, swirlies, dots, doodles, whatever you want! This is my favorite part!
That's it! Your sketch is complete!
The last step is taking this sketch to finish in the medium of your choice: digital, pen and ink, watercolor, needlepoint, crayons, colored pencils, markers, collage, felt, whatever!
See my finished map below. I created this map by taking a photograph of my sketch and placing it on a layer within Adobe Illustrator on my laptop. I then traced and colored my sketch. That's just one way. Many people use Procreate on their iPad or good-old-fashioned paper and pencils/paints—my recommendation!
![Coffee-on-the-Coast-in-San-Francisco-Bay-Area-California-by-Nate-Padavick-[Recovered].jpg](https://images.squarespace-cdn.com/content/v1/51f2dbe7e4b033bb427bfb9a/1585497725171-AC4ZTWZXKMC99FYN4TMA/Coffee-on-the-Coast-in-San-Francisco-Bay-Area-California-by-Nate-Padavick-%5BRecovered%5D.jpg)
Don’t forget!
When you are finished illustrating your map, submit it to They Draw & Travel for everyone in the world to enjoy your armchair travel illustration.